Stripe Terminal is a physical point-of-sale device that offers a seamless checkout and payment experience. Terminal is the best way to make in-person payments and is fully integrated with Sirvoy.
Before you use Stripe Terminal, ensure your Sirvoy and Stripe accounts are connected.
Stripe Terminal Hardware
Sirvoy supports Stripe’s WisePOS E and the Stripe Reader S700, manufactured by BBPOS.
Both are Android-based smart readers for countertop and handheld use, support PIN on glass, and connect over local networks via Wi-Fi (ethernet access requires a dock or hub accessory). A full battery charge lasts 12 hours during active use for the WisePOS E and 15 hours for the Stripe Reader S700.
Supported payment types:
- Cards (magstripe, chip, and contactless)
- Mobile Wallets (Apple Pay, Samsung Pay, and Google Pay)
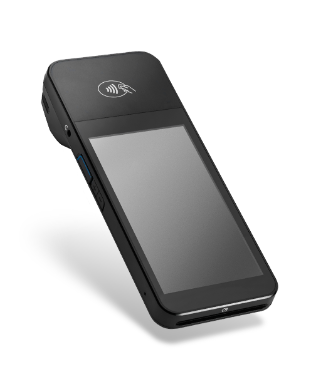
BBPOS WisePOS E
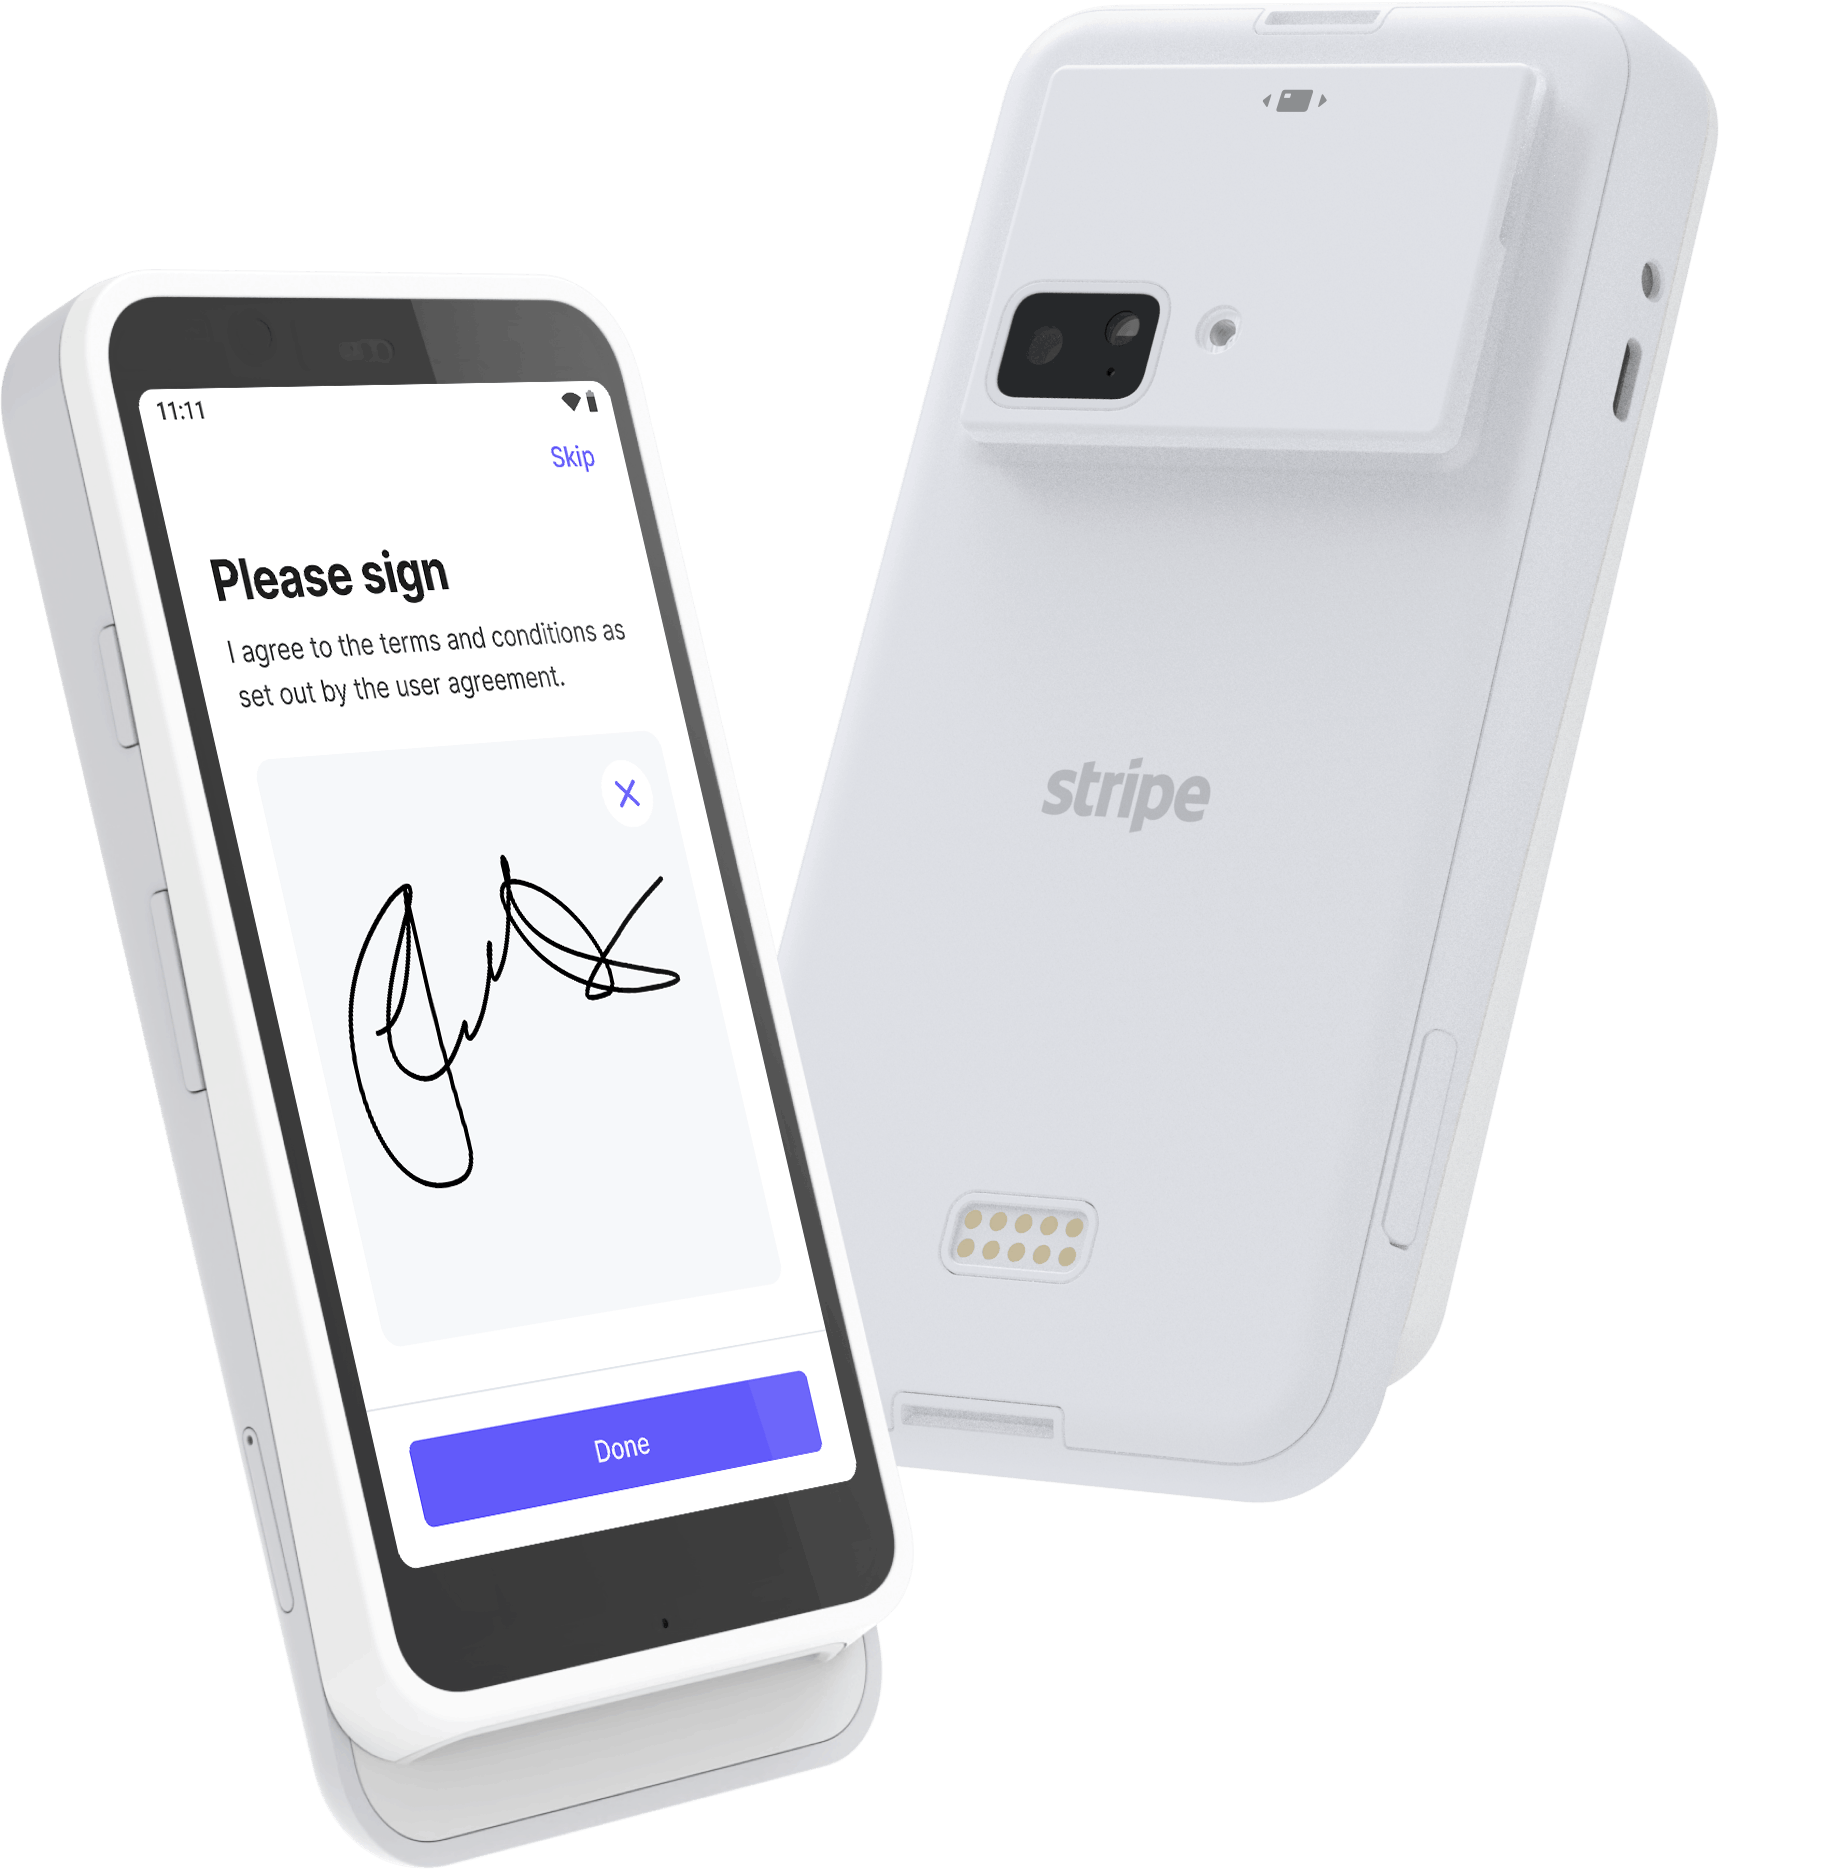
Stripe Reader S700
Ordering the Reader (and Accessories)
Order readers or docks from your Stripe account.
To order a reader:
- Log in to your Stripe account.
- Go to Payments > Readers > Hardware orders, and click “Shop.”
- If a pop-up asks “Let’s understand your integration. How would you like to accept payments?”, close it by clicking the “X.”
- Under “Card Readers” click on ”BBPOS WisePOS™ E” or “Stripe Reader S700”
- Click “Add to cart”
- To complete the order, go to “Cart” and follow the checkout instructions.
Setting Up Your Stripe Reader
Stripe provides detailed guides for setting up and customizing their readers. These guides include steps for connecting the reader to the internet, setting the language, customizing the splash screen, and more.
Stripe’s Setup Guides:
Connecting the Reader to Your Stripe Account
Creating a Location on Your Stripe Account
You must create a location on your Stripe account, representing where your readers will be physically located. If you have already created a location, go to Register the Terminal to Your Stripe Account.
To create a location:
- In your Stripe account, go to Payments -> Readers -> Locations, and click “+ New”.
- Fill in the location details, and click “Save”
Register the Terminal to Your Stripe Account
To register the terminal to your account:
- In your Stripe account, go to Payments -> Readers -> Locations.
- Click on the location you want to assign the reader.
- Under the Readers section, click “+ New”.
- On your reader, swipe right across the screen to access the settings menu.
- Tap “Generate pairing code.”
- On your Stripe account, enter the code in the field “Registration code.”
- Give your reader a name by entering it in the field “Reader label” (optional).
- Click “Save.”
Using the Terminal With Sirvoy
Connecting the Reader to Sirvoy
The reader is automatically detected and connected for use with Sirvoy when both of these conditions are met:
- Your Stripe account is connected to your Sirvoy account
- Your reader is turned on and connected to the internet on the same network you run Sirvoy
Initiate a Payment
- In Sirvoy, open a booking.
- Click “Charge With Terminal.”
- In the field “This Payment”, enter the amount to charge.
- Ask the guest to complete the purchase with their card on the terminal.
- The payment is now recorded on the booking as a payment note and the credit card details are saved for later use.
To save a guest’s card for future charges using Stripe Terminal, follow these steps: Once saved, the card will be available under the Charge card button in the booking.
Refund a Payment
Saving a Card to Charge Later